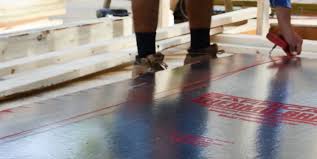
Installation of structural exterior wall sheathing occurs after the structure’s walls are framed, secured to the slab, plumbed, and braced. Structural exterior wall sheathing strengthens the wall system by tying the framing studs together, which makes the walls resistant to twisting and bending.
Sheathing also provides a surface for application of materials, like siding, and helps shield a building from rain, snow, wind, etc. Installing structural exterior wall sheathing involves first preparation then application.
Preparation for Installing Structural Exterior Wall Sheathing
-
Selecting the wall sheathing product
Selecting the best type of sheathing for the project is the first step of installing structural exterior wall sheathing. There are several common structural exterior sheathings.
- Wood-based structural sheathing like plywood, oriented strand board (OSB), and waferboard.
- Gypsum based structural sheathing is a panel-type material made of a noncombustible core, primarily gypsum, with a paper surfacing on the long edges, face, and back. It is also known as drywall, wallboard, or plasterboard.
- Glass mat sheathing is like gypsum board but uses a fiberglass barrier instead of a paper material on the outside.
- Cement board structural sheathing is Portland cement, reinforced with glass-fiber mesh that creates a sheet that attaches to a wall.
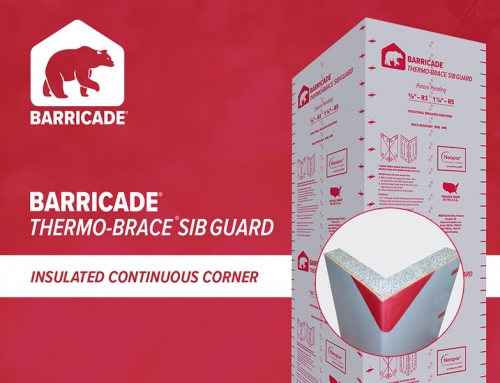
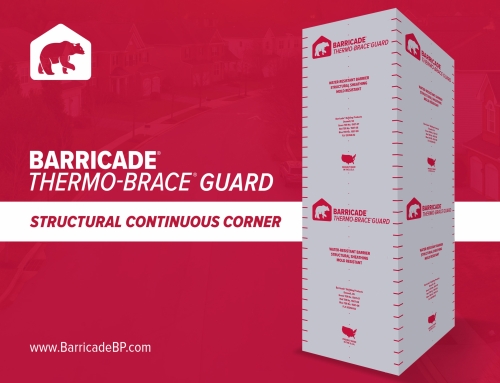
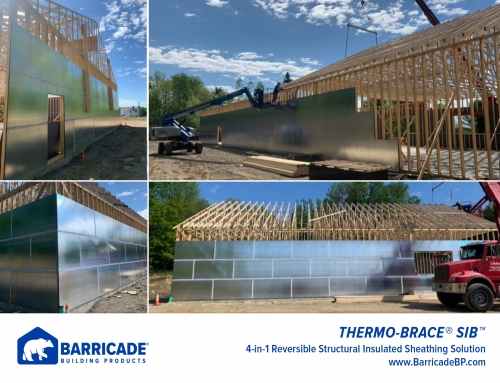
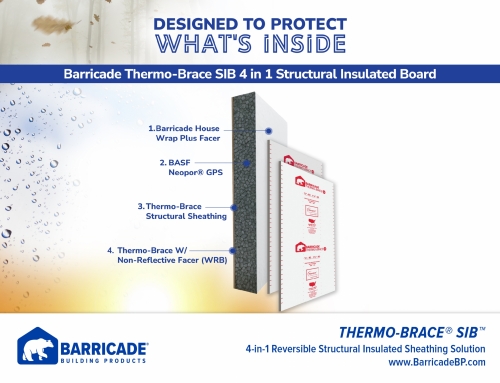
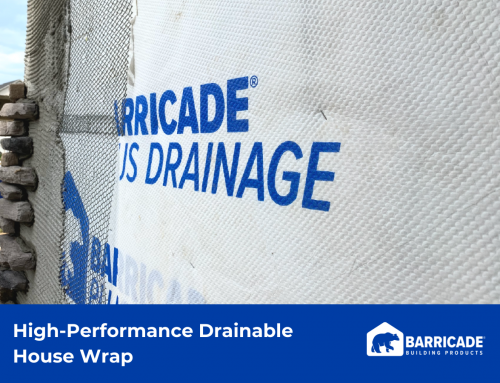
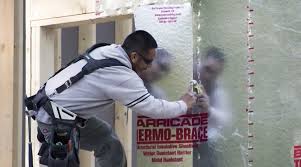
- Barricade Thermo-Brace® is a structural sheathing made from high-quality, long fibered, specially-treated water and weather-resistant plies that create superior dimensional stability and strength. The advantages of Barricade Thermo-Brace® is it preserves the integrity of the wall system and creates a tight building envelope. The tight building envelope protects the wall system from water and air infiltration and contributes towards continuous insulation. In fact, all grades of Thermo-Brace have been evaluated and permitted as a water-resistive barrier (WRB) noted in IRC section R703.2 and IBC Section 1404.2.
-
Calculating the quantity of sheathing needed for a project
To calculate the number of sheathing boards needed for a project, measure the length and height of each wall. For each wall, multiply the width and height of the wall for total exterior square feet for that specific wall. Divide the exterior square feet of that wall by the square feet of a single sheet of sheathing. Repeat for each wall.
For example, a wall is 15 feet long and 10 feet wide. The sheathing board is 4 feet by 8 feet.
- 15 x 10 = 150 total exterior square feet of wall space
- 4 x 8 = a single sheet of sheathing is 32 square feet
- 150/32 = 4.7 or (round off to 5) boards of sheathing needed to cover the one wall’s surface
Application of Structural Exterior Wall Sheathing
-
Placing structural exterior wall sheathing
- Measure the sheathing so that the side edges land in the center of a wall stud. Measuring to the center allows space to nail the sheathing edge to the studs.
- Wear safety goggles and use a circular saw to cut the boards along the measured lines on the sheathing boards.
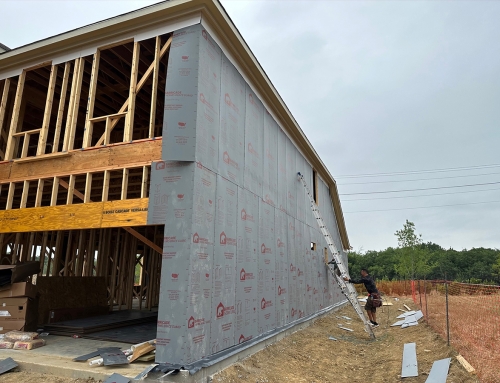
- The vertical installation of structural exterior wall sheathing: Starting at a corner of the framed structure, rest the bottom of the sheathing sheet on the outside lip of the slab, extending past the sill plate.
- Align the edge of the sheathing sheet with the outer corner of the framed wall.
- Correct placement of the sheathing is when the edge of the sheet lines up perfectly with the outer wall, and the other end of the sheet is on the center of a stud.
- If the edges don’t line up, use a construction level to determine if the corner of the wall is off or the stud is not plumb. If it’s the stud, bang it into place with a hammer.
-
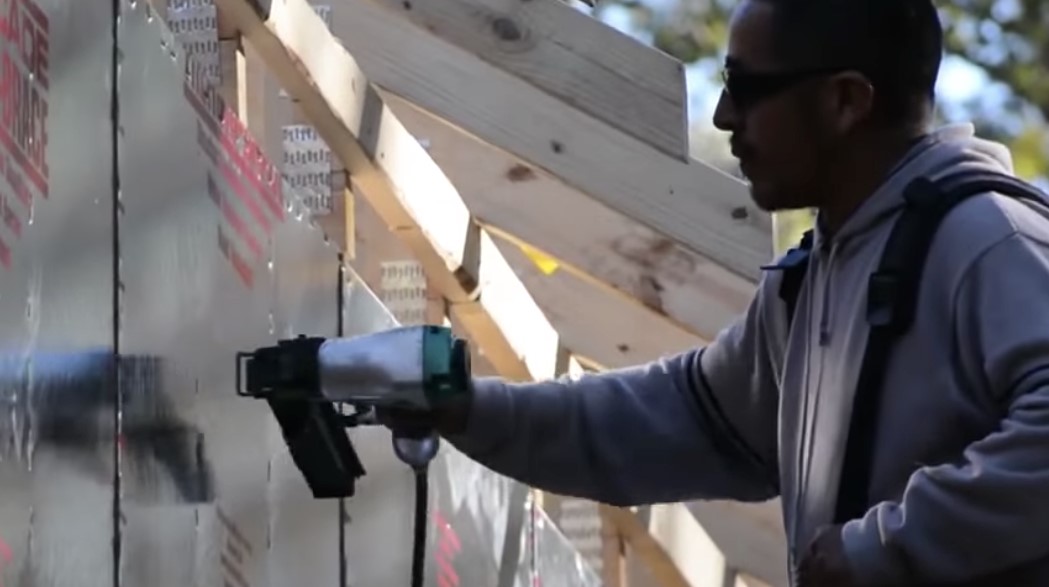
Securing the sheathing to the frame
- Secure the sheathing with 2 ½ inch 8p ring nails, or manufacturer’s recommended fasteners, every 6 inches.
- Important, DO NOT fasten the four corners first.
- To secure the panel to the stud, start at the top left corner of the panel and fasten the panel to the vertical side stud from top to bottom.
- Next, fasten the top part of the panel to the top horizontal stud until you reach the vertical stud adjacent to the vertical side stud.
- Then fasten the bottom part of the panel to the bottom horizontal stud until you reach the vertical stud adjacent to the vertical side stud.
- Fasten the panel to the first vertical inner stud, moving from top to bottom.
- Fasten the top part of the panel to the top horizontal stud from the second vertical to the third vertical stud.
- Fasten the panel to the second vertical inner stud, moving from top to bottom.
- Repeat steps until the panel is secure along all studs of the frame.
-
Cutting holes into the sheathing for the windows and doors.
- To cut holes into the sheathing for the windows and doors. Stand on the inside of the wall and drill a 1/2-inch wide hole into each corner of the door and window frames.
- Wearing goggles, cut the sheathing along the edge of the frame with a reciprocating saw.
- Put the tip of the saw blade into one of the corner holes, and saw through the sheathing until reaching the next hole.
- Repeat this until you cut all four sides.
- When cutting a hole for a door, instruct a fellow worker to hold the sheathing inside the door frame while cutting so that it doesn’t fall or tear away from the wall frame.
Visit Barricade Building Products for more information how to install structural exterior wall sheathing.